|
(0)--fm.thing.net--(0)
|
(0)
How to build a 1W transmitter Tetsuo style
Step four : soldering on the copper board
Estimated time for step two : 10-15 minutes
You will need the following:
Solder Iron
Solder
Copper Board
The solder iron will be the next tool you will use for a while. First though we recommend you do a 'dry run' with the soldering iron and solder:
A) Hold the hot iron directly on the copper board (choose a part that wont get used later to solder components to).
B) After 10 seconds or so, push the solder iron into the point where the soldering iron meets the copper board, holding the iron in place.
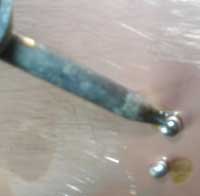
C) Remove the solder when you have a big blob (!) -> see this for an example [x].
D) Pull the soldering iron along the board so that the hot solder forms a elongated blob. We weren't too good at this bit so don't worry if it doesn't 'elongate' too well.
E) Remove the iron.
F) Wait a moment for the solder to cool and then test if it has 'fastened' to the board by pushing it with a firm object.
OK....so if you fail the above, try again until you get it.
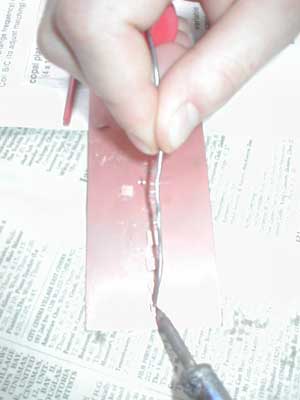
Next we will actually start making the connections points ontop of the squares you have glued to the board. Do this in exactly the same manner as you have done above except you want to make the solder stick to the topside of the cut-out squares[x].
When you have finished it should look like this:
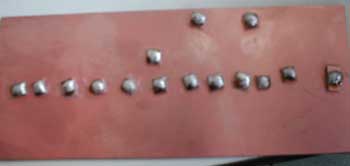
Then proceed to STEP FIVE.